Table of Contents
How to Download ISO Images of Windows 11 Operating System
Windows 11 is the latest version of Microsoft’s operating system for personal computers, succeeding Windows 10. It was officially announced in June 2021 and released to the public in October 2021.
Here’s an overview of Windows 11:
- Redesigned User Interface: Windows 11 features a refreshed and modern user interface with rounded corners, a centred Start menu, and taskbar icons. The design is more streamlined and visually appealing compared to previous versions of Windows.
- Snap Layouts and Snap Groups: Windows 11 introduces new features for organizing and multitasking with Windows. Snap Layouts allow users to easily arrange windows into predefined layouts, while Snap Groups remember groups of apps that were snapped together, making it easy to switch between tasks.
- Microsoft Store Overhaul: The Microsoft Store in Windows 11 has been redesigned with a focus on curated content, including apps, games, movies, and shows. It now offers a wider selection of apps and better support for developers, including the ability to publish any kind of app, including Win32, .NET, UWP, Java, and even Progressive Web Apps (PWAs).
- Gaming Enhancements: Windows 11 includes several features to improve the gaming experience, such as Auto HDR for compatible displays, DirectStorage for faster game loading times, and support for Xbox Game Pass directly integrated into the Xbox app.
- Integration with Microsoft Teams: Microsoft Teams, the company’s collaboration platform, is integrated directly into Windows-11, allowing users to easily communicate and collaborate with friends, family, and colleagues through text, voice, and video chats.
- Enhanced Productivity Features: Windows 11 introduces several productivity enhancements, including virtual desktops, improved touch, pen, and voice input, and a new focus mode that minimizes distractions while working.
- Better Support for Touch and Pen Input: Windows 11 improves support for touch and pen input, with features like larger touch targets, smoother animations, and improved handwriting recognition.
- System Requirements: Windows-11 has higher system requirements compared to Windows 10, including a compatible 64-bit processor with at least 1 GHz clock speed, 4 GB of RAM, and 64 GB of storage. Additionally, devices must support Secure Boot and TPM 2.0.
Overall, Windows 11 represents a significant update to Microsoft’s operating system, with improvements in design, performance, and productivity. It’s designed to provide users with a more modern and seamless computing experience across a wide range of devices.
Steps to download Windows 11 ISO image
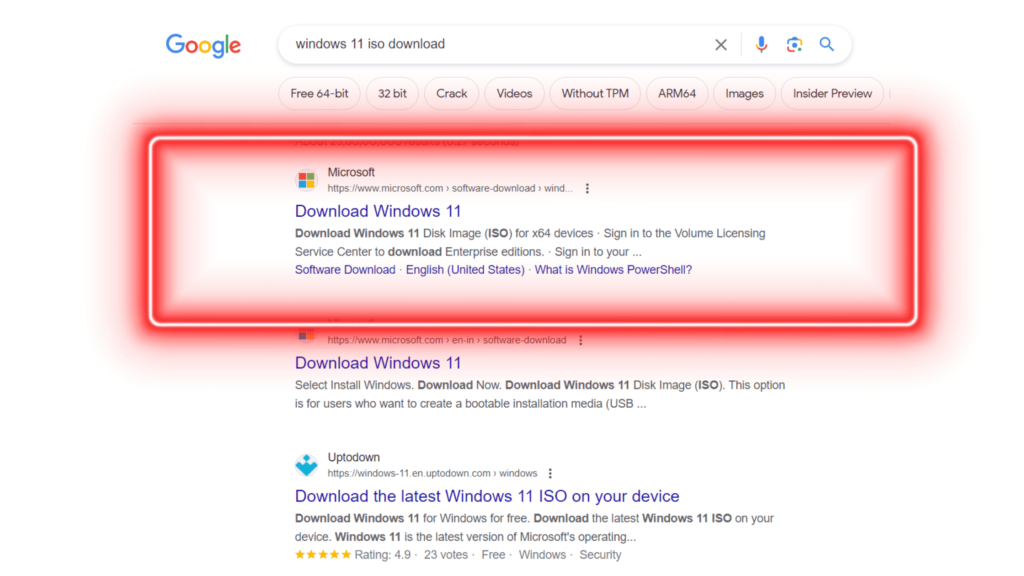
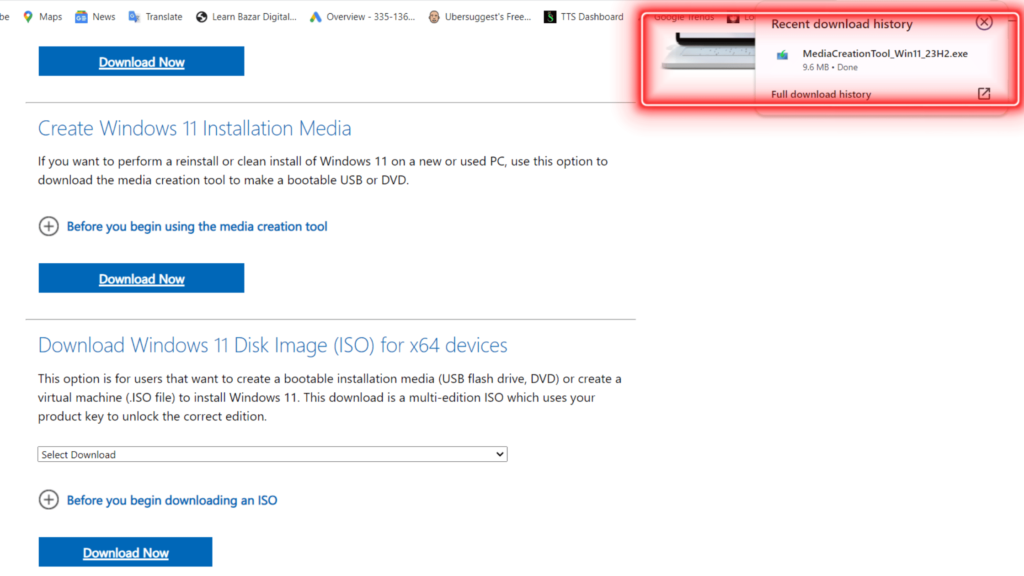
Step 1:- In Google type “Windows 11 media creation tool “and click on enter. Choose the first link from the search results.
Step 2:- Once you have entered into this page click on Download Tool now.
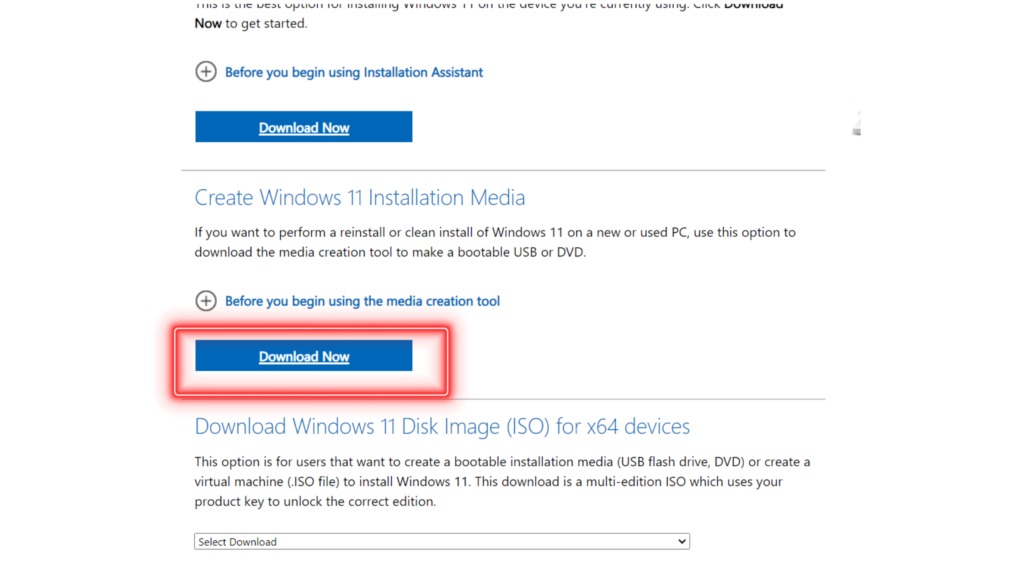
Step 3:- One small file of 9.6 MB will be downloaded.
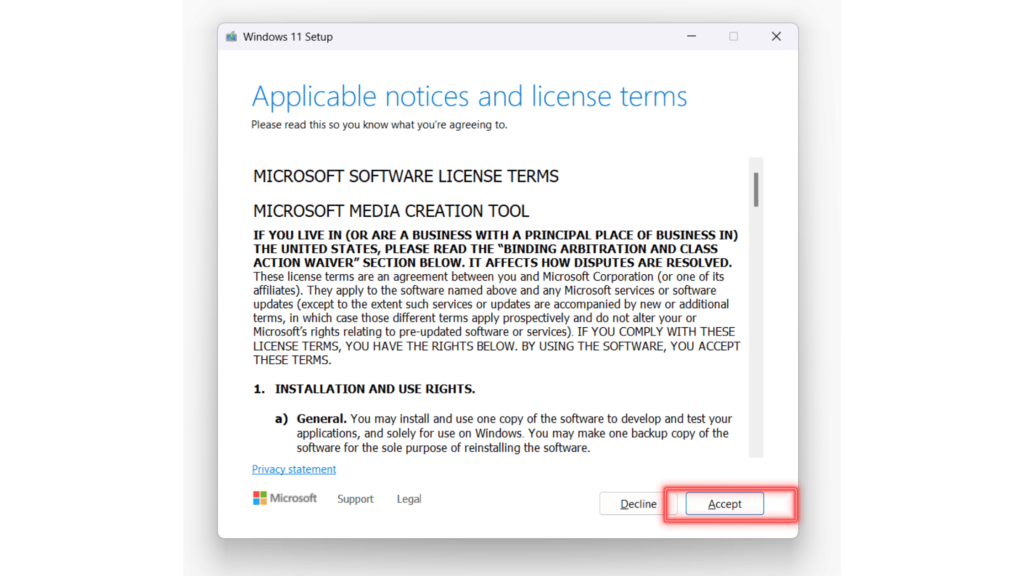
Step 4:- Open the Media Creation Tool .exe file. “Accept” the License agreement.
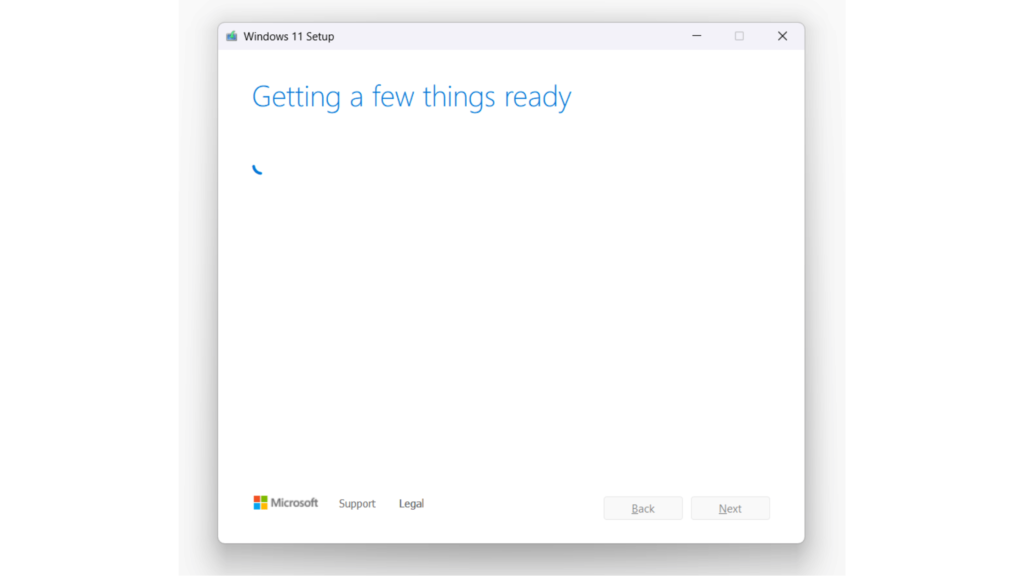
Step 5:- This might take a few minutes to complete.
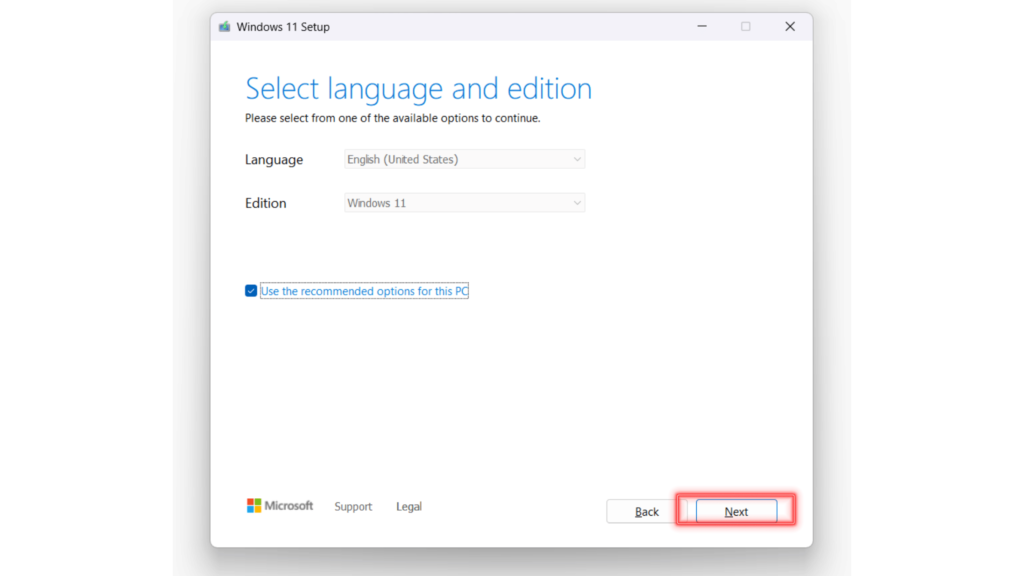
Step 6:- In this step language and edition are already selected and click on Next.
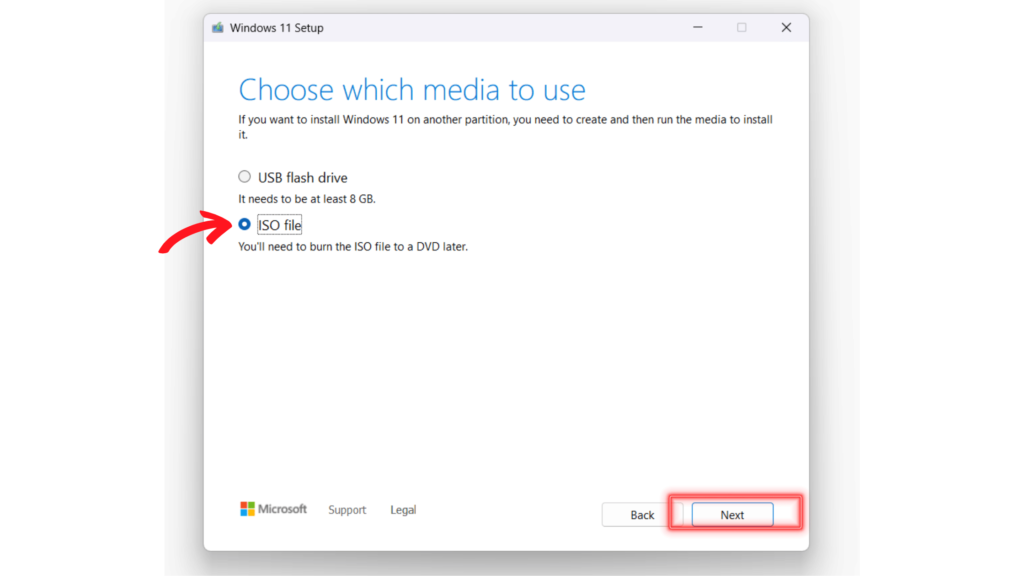
Step 7:- Choose which media to use and click on “Next”
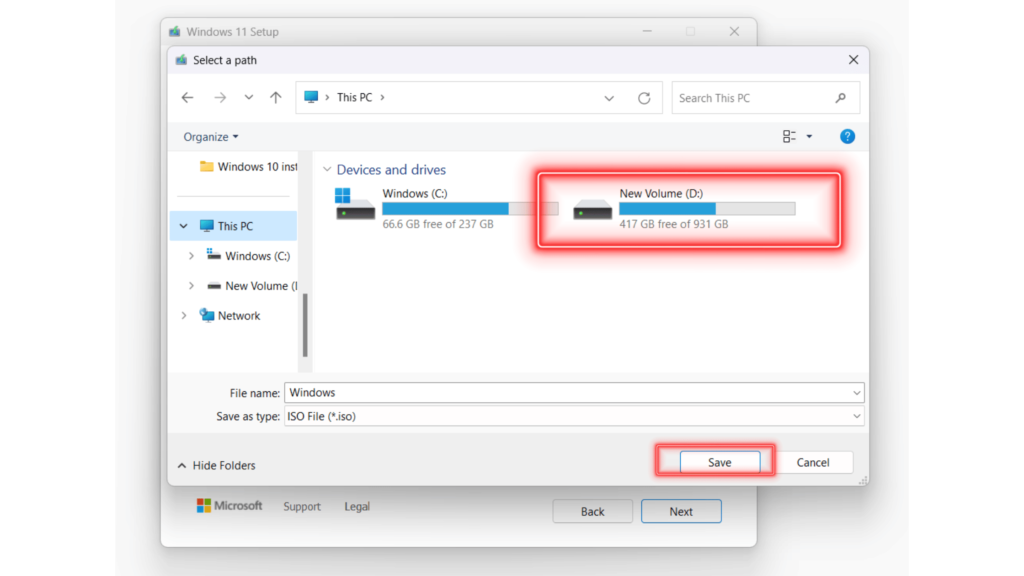
Step 8:- Save the ISO file in your desired location and make sure you remember where your saving the ISO file.
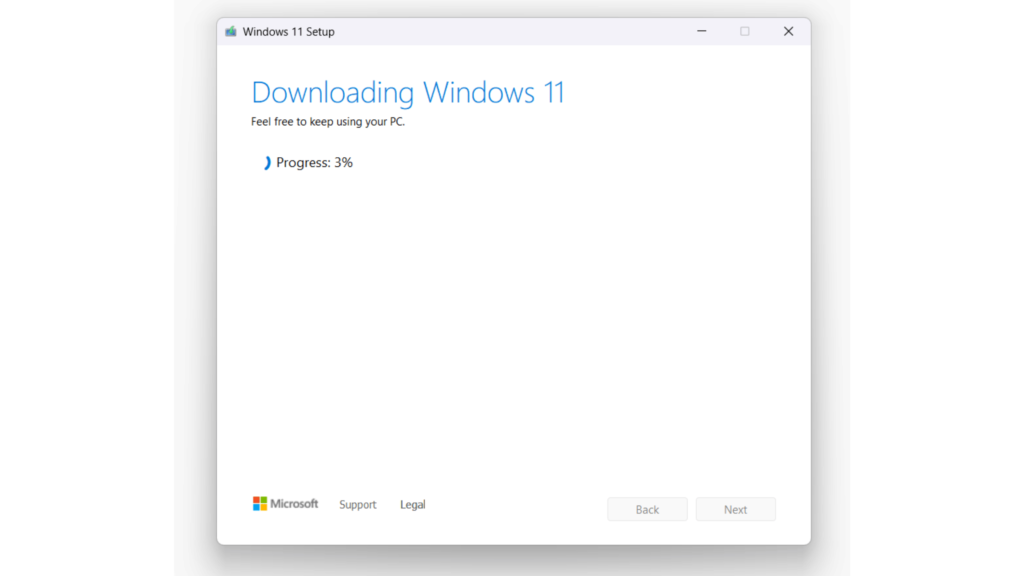
Step 10:- The Windows-11 Home Single Language ISO file Start Downloading.
Step 11:- Now It completed 100% you will see the next option visible, and then click on Finish.
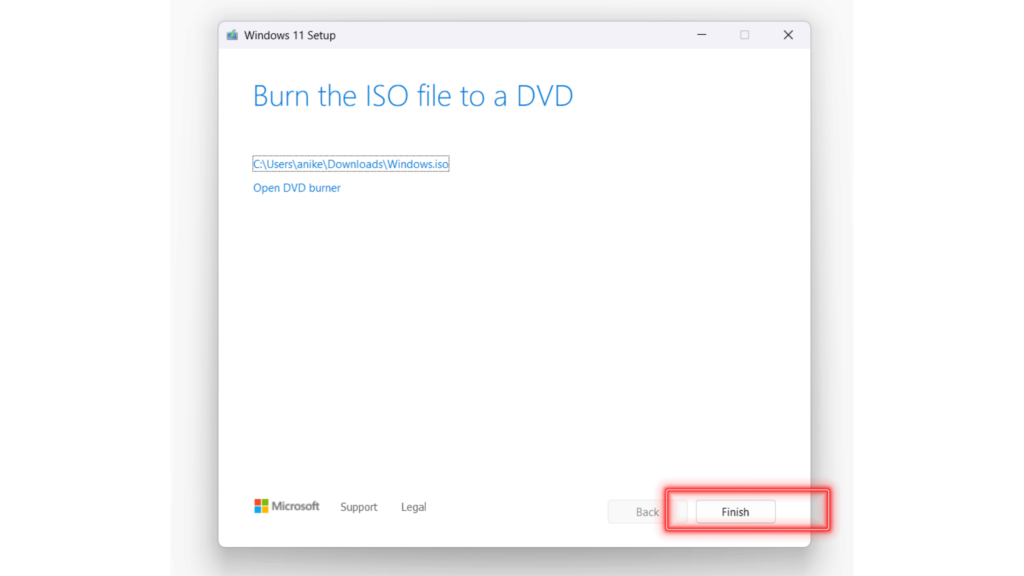
You have now successfully Downloaded the Windows-11 Home Single Language ISO file.
Once successfully Downloaded the Windows-11 Home Single Language ISO file then creates a bootable Pendrive.
After downloading the ISO (OS) file please proceed with making the Pendrive (8 GB minimum) bootable.
How to Create a Bootable Pendrive
How to Install Windows 11 Operating System
Once the bootable pendrive is done then remove the pendrive Connect to your faulty system, and follow the below steps.
To enter in Boot Menu please follow the steps.
- Restart the system
- Start tapping F12 or Fn+F12 continuously
- You will find the Boot menu screen
Select your USB EFI Pendrive drive on this boot menu page.
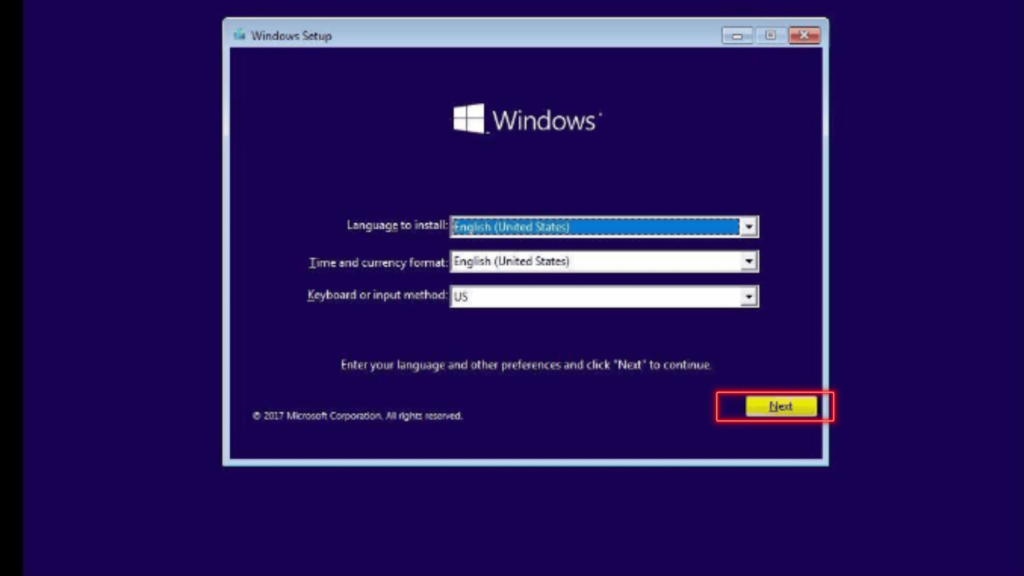
Step 1:- Once you have chosen USB EFI Pendrive, you will see the Windows loading page and after that, you will see the image which is shown below.
Whatever content you see. It has to be the same and click on next
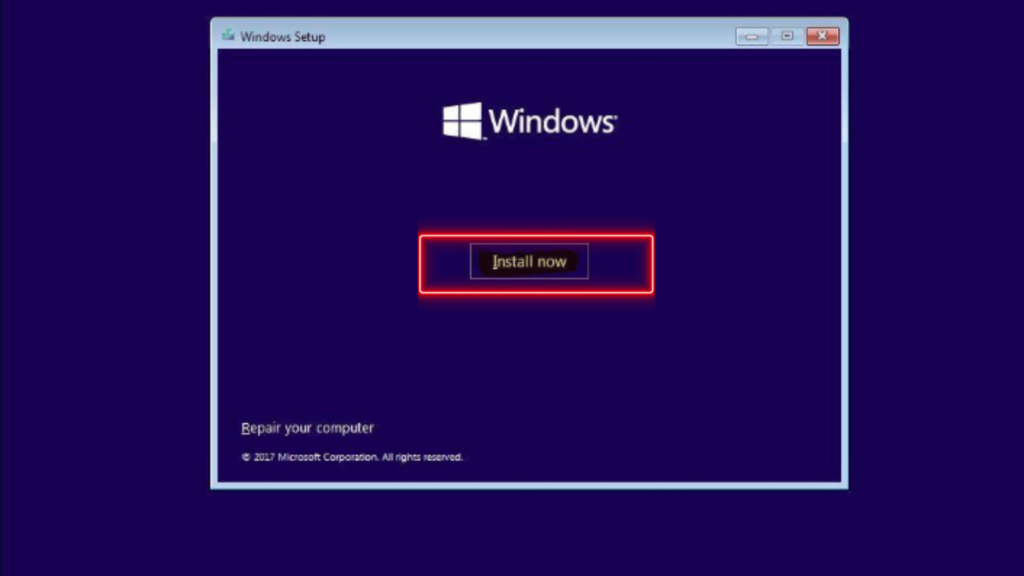
Step 2:- Click on Install when you in the page.
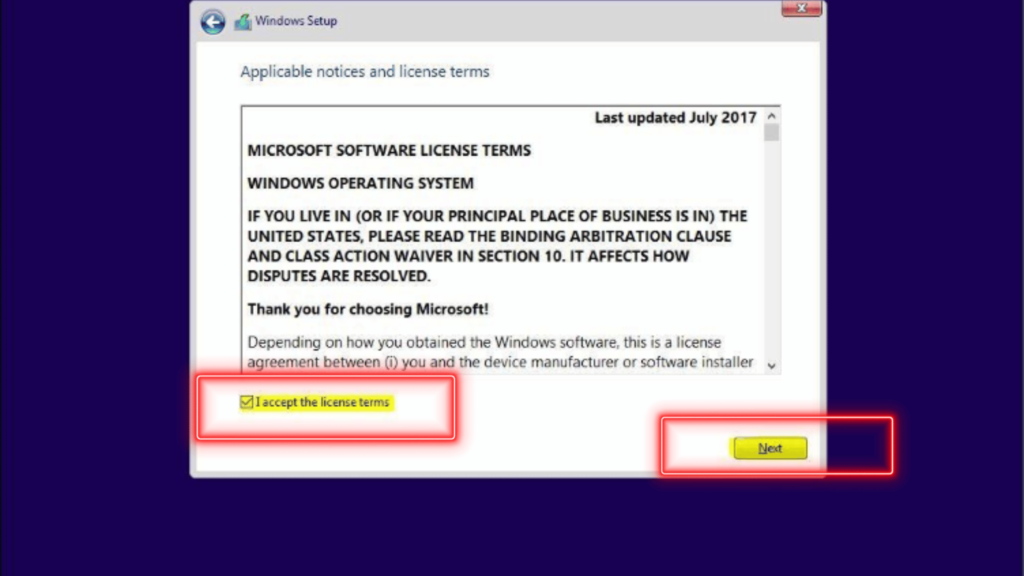
Step 3:- Do the same as shown in the image, accept the License terms and click on Next.
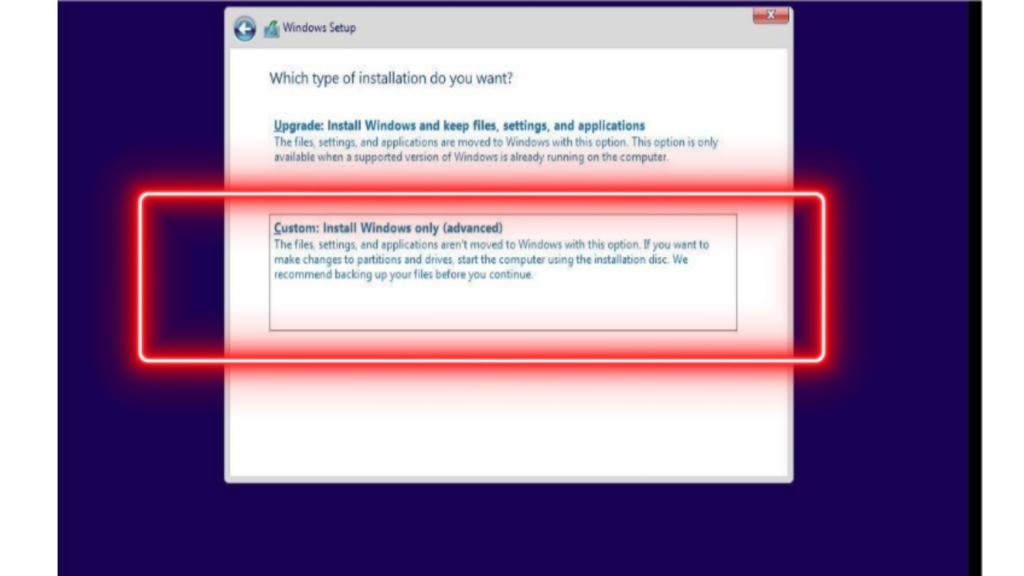
Step 4:- Click on the Custom option which is shown as in the Image.
Step 5:- Select the Drive available and click on delete.
Note:- If on this page Drive is not detected then go to BIOS.
To enter in BIOS please follow the steps.
- Restart the system
- Start tapping F2 or Fn+F2 continuously
- You will find the BIOS screen
If you are unable to enter the BIOS through the above steps then follow the below steps.
Find the NOVO button, a NOVO button is a small pinhole, and you can find it near the audio jack or charging port, it indicates with a down words arrow mark.
Firstly shut down the system and connect the adaptor.
Arrange the SIM ejector or pin and insert it into the Novo button for 2-3 seconds and check if you can see anything in the display.
Once you get the NOVO menu, Select the BIOS setup and make the below changes.
- In Configuration Page:-Disable Intel VMD controller or select Storage to ‘AHCI’.
- After that please press F10 and click on Yes. (the system will start to boot)
- Once’s system then press F12 or Fn+F12 then you will find the Boot menu screen.
- Again follow start form step 1.
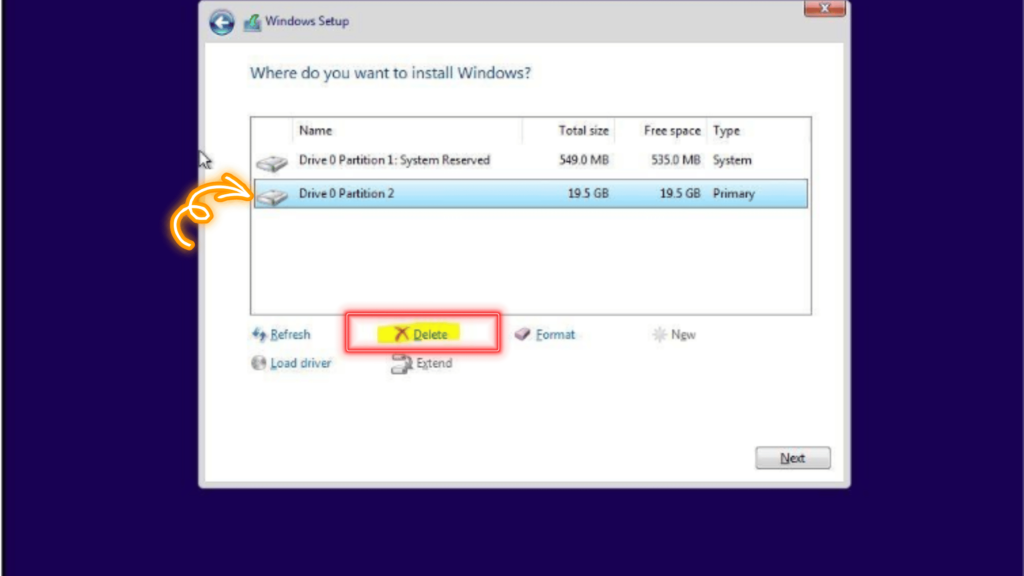
Step 6:- Do this until you delete all the drives and click on next.
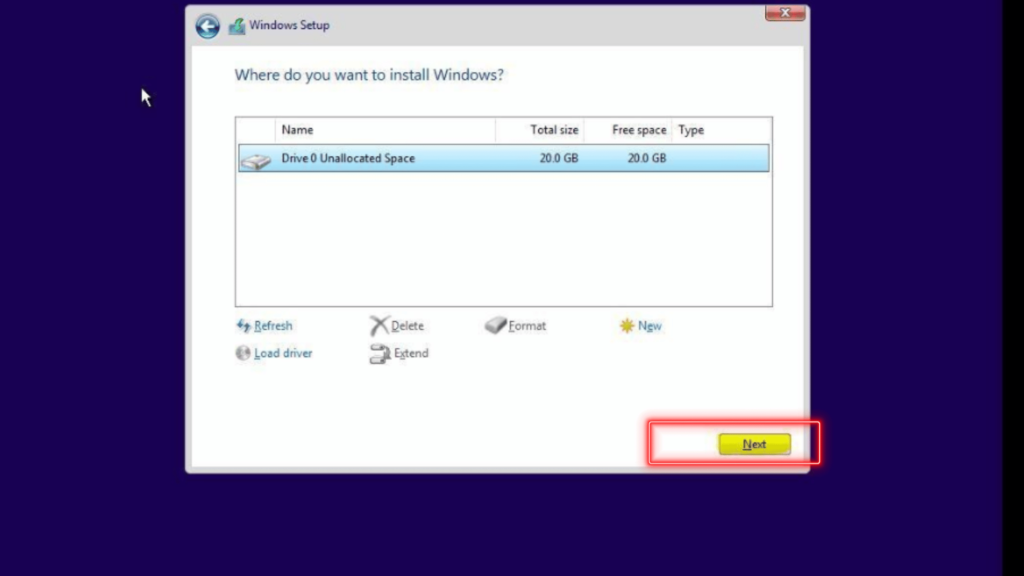
Step 7:- Windows Installation will begin.
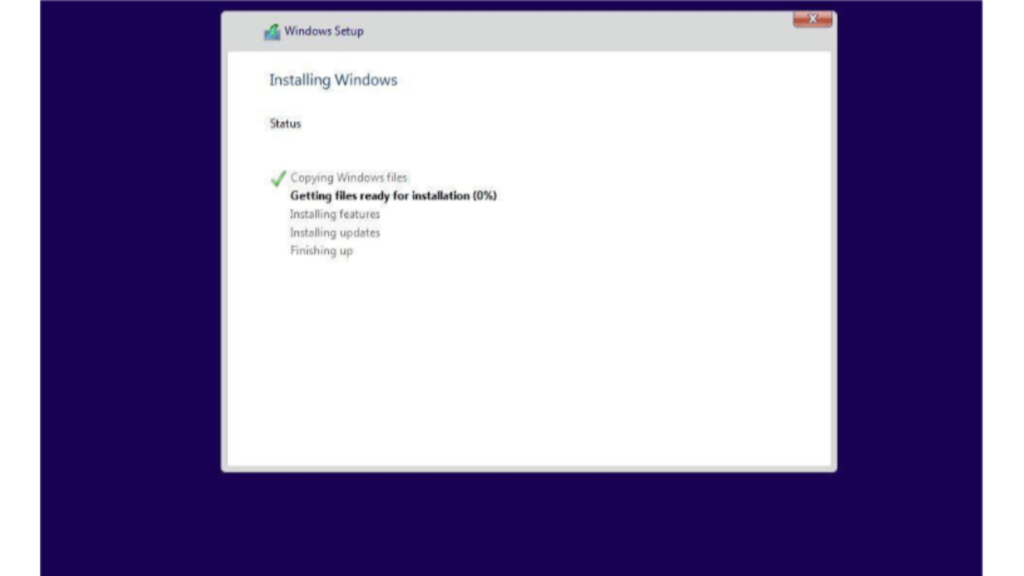
Step 8:- After that you will see Windows setting up your system.
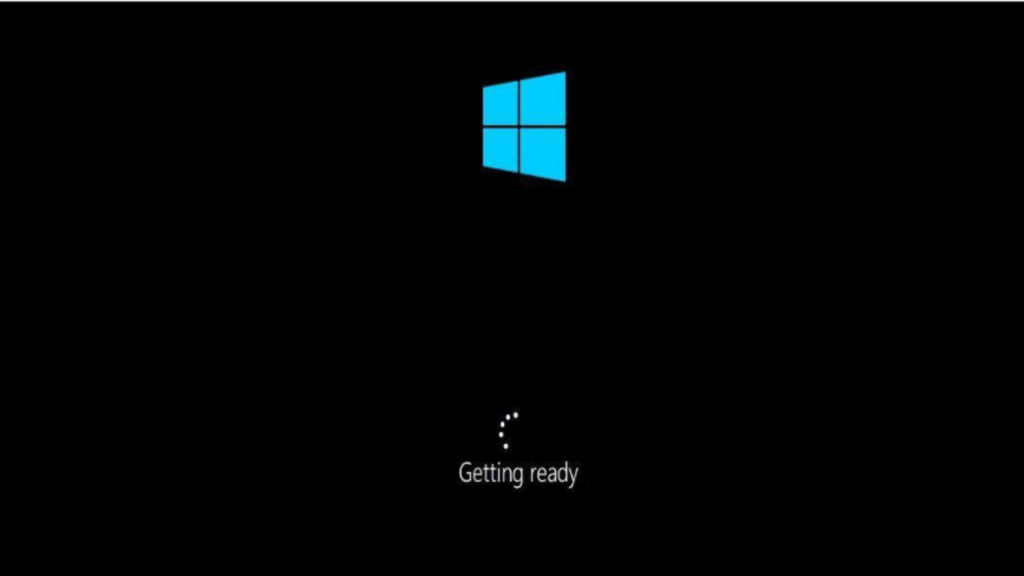
Step 9:- After getting ready
- Select Country region
- Select Keyboard language
- Signing in to Microsoft account
- Enter Microsoft password
- Enter System name
- Enter System Password
Step 10:- The windows desktop page will appear. This is the complete step by step process to install the Windows 11 Operating system. Windows Installation step is complete.
